 Dear forum visitor,
It looks as though you have not registered for a forum account, or are not signed in. In order to participate in current discussions or create new threads, you will need to register for a forum account by clicking on the link below.
Dear forum visitor,
It looks as though you have not registered for a forum account, or are not signed in. In order to participate in current discussions or create new threads, you will need to register for a forum account by clicking on the link below.
DeletedUser4778
Guest
Hi everyone,
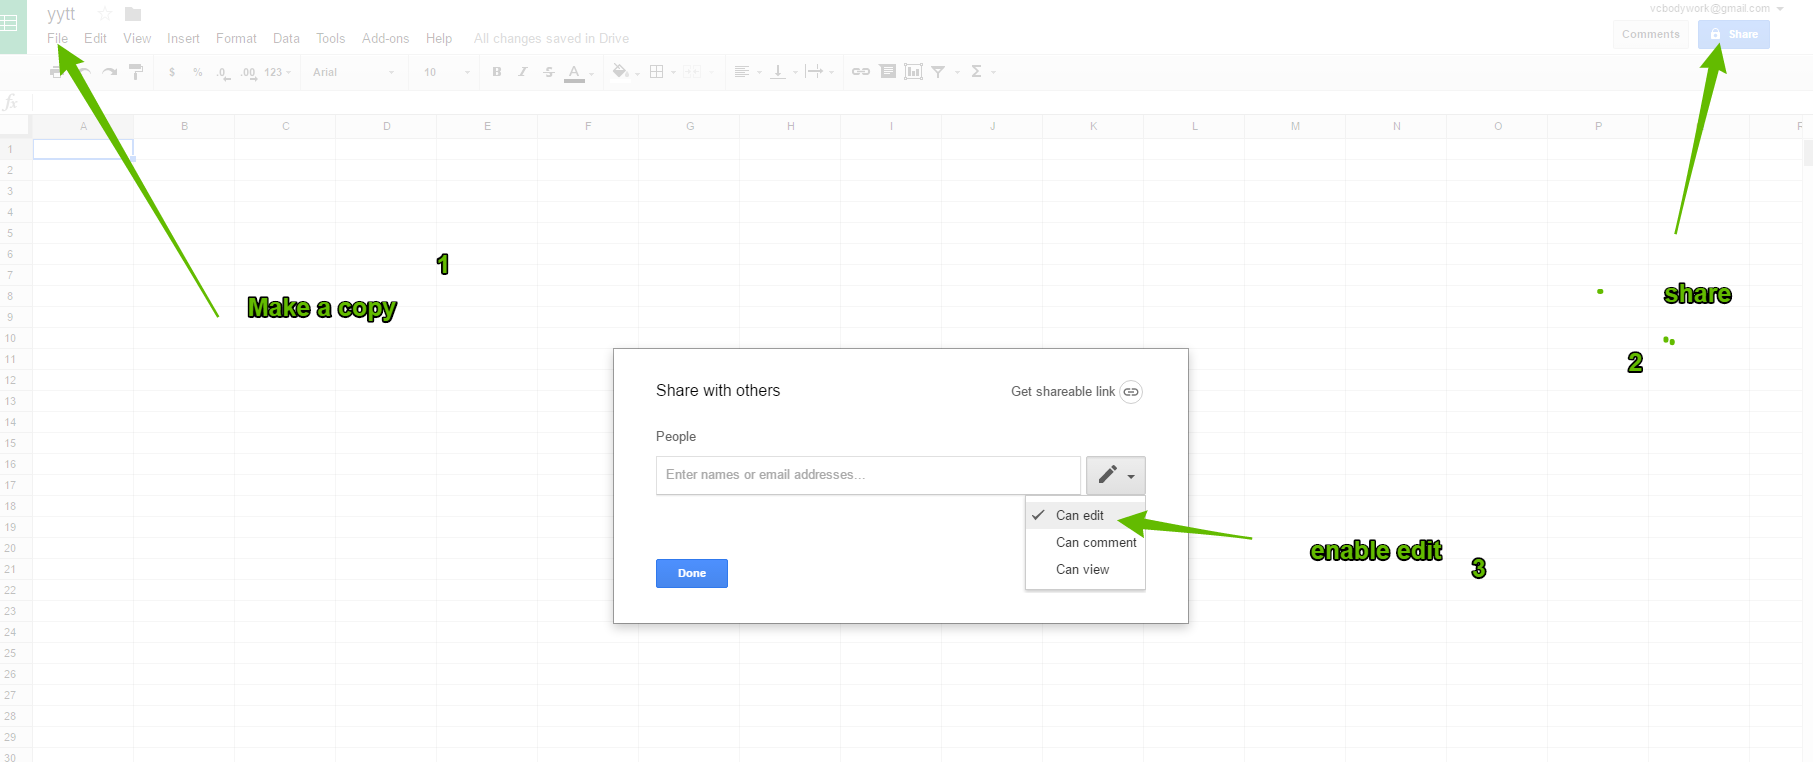
Here is the link to the Battle Sheet that I rely on to help me win fights.
https://docs.google.com/spreadsheets/d/1Bulda2Rbiyz_1DPZMyLtSWGoV9lG3Z6S2VrHypBWKhc/edit#gid=0
Aside from unit stats, my sheet has columns for average damage, a stack's damage, total damage of the same unit type, bonuses to damage, hp, hp per stack, hp per unit type, total army hp, whether yours or the enemy's, etc.
The sheet was what made me see that, although the thief has a bonus to hit against light range, it actually deals less damage than the knight, even with the archer's ability to absorb 50% of heavy melee damage. One column is mostly blank and this is where I put the enemy's and my army's numbers. The other column I frequently adjust is the SQ column which stands for # of squads. The columns are as follows:
:: INFO ::
TY (Type): LM (Light Melee), LR (Light Range), HR (Heavy Range), HM (Heavy Melee), and M (Mage)
IN: Initiative
MV: Movement
RNG: Strike Range
:: DAMAGE ::
MIN: Minimum Damage
MAX: Maximum Damage
AVE: Average Damage
:: UNITS ::
#: # of Units in a Stack
SQ: Number of Squads
ALL: Total Number of Troops
:: ATTACK & DAMAGE ::
DMG: Average Damage x Number of Units
%A: 1st Special Attack Damage (what that unit has the best bonus against)
SUMA: Total Damage x 1st Special Attack Bonus
%B: 2nd Special Ability Attack Damage if any (what that unit has a good bonus against)
SUMB: Total Damage x 2nd Special Ability Attack Bonus if any
:: HIT POINTS ::
HP: HP per Unit
HP UNIT: HP per Unit Stack
HP ALL: Total HP of same Unit Type in All Stacks
DEF1: One Stack's Effective HP vs 1st Special Ability Enemy
ALL1: All Stacks' Effective HP vs 1st Special Ability Enemy
DEF2: One Stack's Effective HP vs 2nd Special Ability Enemy if any
ALL2: All Stacks' Effective HP vs 2nd Special Ability Enemy if any
:: ETC ::
OK1: Good to use this troop based on based on special ability
OK2: Better to use this troop based on special ability
AVOID: The first entry is the one you should avoid the most based on special ability. For example: The thief and the ancient orc are both LM but the entries are sor/arc and arc/sor respectively because the of those units' special abilities.
SPECIAL ABILITY: (I changed the minus that we see in the game to a positive # when it increases your defence which means you take less damage. The negative # will apply to enemies to mean that they take more damage. A minus to strength probably means that attacks are weaker.)
EXTRA SPREADSHEETS
COMBAT RATIO: Computes the combat difficulty ratio based on squad size and number of squads.
PROVINCE COMBOS: Who Beats What: Which combo beats which combo. Newbies should start here.
UNIT VS. UNIT: Who Beats What: Which unit beats which unit in 3 different layouts.
All unit info was taken from Elven Architect. Bonuses from Ancient Wonders are not included.
You will need to input your own squad size near the bottom for accurate calculations. Naturally, I only change this during tourneys and when my squad size goes up. Battlefield order and position as well as squad size research increases are found at the bottom.
Due to the number of entries, I suggest you hide rows or filter so you can more easily see the enemy's stats and yours.
I didn't include the # of strikebacks but you can read the generalizations in a note in the INFO cell. Exceptions are included in the last column. I also didn't include unit size but the golem, treant, and sorcerer entries in the # column are formulated to divide squad size by unit size. It works for me now since my squad size is divisible by both 3 and 4 but be aware that the game rounds down for us and rounds up for the enemy and the trader --> I am expecting violent reactions to this but, yes, based on what I've seen and my calculations, it's true.
For the OK and AVOID columns, these are not set in stone. They're based purely on special abilities but I will probably change my own copy or add a new column for the best combo. There are always things to consider such as unit stats, terrain, whether a range attacker can hit you in the first round, etc. For example, the golem may be better vs. Light Melee but he has no strikeback and has less damage and hp than the treant. Also, a unit may have bonuses against another but another unit can actually deal more damage (compare how the archer and sorceress do against heavy melee) and the benefits of Broken Valor versus killing off more of the enemy.
I'm aware of Elven Architect's Battle Simulator but I find it too tedious to have to go through so many clicks and it has only one vs one fighting. When I ran 10 scenarios that I won or knew I could win, it said that I lost every time. I prefer my battle sheet because I like to see all the info I need at a glance and, most of all, the ability to quickly change numbers and see the results and compare them with another stack's results to find a good combo of troops to use for a particular scenario. Of course, numbers aren't for everyone but I hope this sheet will be helpful to some.
The columns I look at the most are the damage and hp columns. How quickly can I take down a stack and how quickly can they take me down? Will enough of me or them survive to deal significant damage in the next round? This sheet is best used while viewing the terrain and trying to predict enemy movement. When you normally fight the same units in more or less the same numbers in the repeating terrains (especially in tourneys), you will find that you barely need to look at this sheet because you remember the stats and setup which is why I highly recommend the tourneys as a training ground.
DISCLAIMER: I am by no means an Elvenar or battle veteran. I only started playing in mid-August and fighting in mid-Sept. Also, my level isn't high (just entered Chapter V so I have the same Chapter IV armies and units) so what works for me may not apply to higher-level players. However, all players can use this sheet to compare opposing army stats.
ACKNOWLEDGMENTS
Many thanks to Jack Luyt and Mykan who reacted positively to what I'm trying to do.
All unit stats were taken from Elven Architect.
All Combat Ratio information was taken from Mykan's Guide to Elvenar.
All Province Combos info was compiled from Elvenar Platinum Community, Mykan's Guide to Elvenar, and comments by forum users.
Unit vs. Unit info was inspired by a comment by Dony in Beta which was shared by Mykan. I have expanded and added a lot of info to it to better see the numbers.
P.S. By the way, I don't know if anyone else has noticed but they added +2 to the armory training size. It's obvious when you build a new armory because its training size is +3 now instead of +1. Or you can just hover over your existing armory or check the Wiki page and add up the numbers and you'll see the difference. I think +2 isn't enough though, especially considering the amount of culture and population those buildings take up.
Last edited by a moderator:
")